Image Map
Showing posts with label fabric. Show all posts

2.6.14

Camera Embroidery Hoop Art

So I realize embroidery hoop art is not a new idea, in fact it's been around for a while. However, I've never actually made any myself so I thought I'd try it out and i thought it would look really cute in my bedroom gallery wall that I've been working on (shhh, don't tell anyone it's a secret).


I decided to embroider a camera because, well, I love photography and my camera and it's something that really "describes" me.


It's super easy! And uses freezer paper (see I told you you would be seeing more freezer paper projects around here)!


Let's get started:

Materials: 
  • Embroidery hoop
  • solid color cotton fabric 
  • contrasting thread
  • contrasting (to your fabric) colored pencil 
  • freezer paper 
  • electronic cutting machine
  • sewing machine, scissors, etc
Steps: 
  • design a file/ picture of what you want your object in your embroidery hoop to be, import it into the silhouette studio. make sure that your image is only the outline of the object, so it prints correctly (refer to the image below for help) Need help with that? Go here.
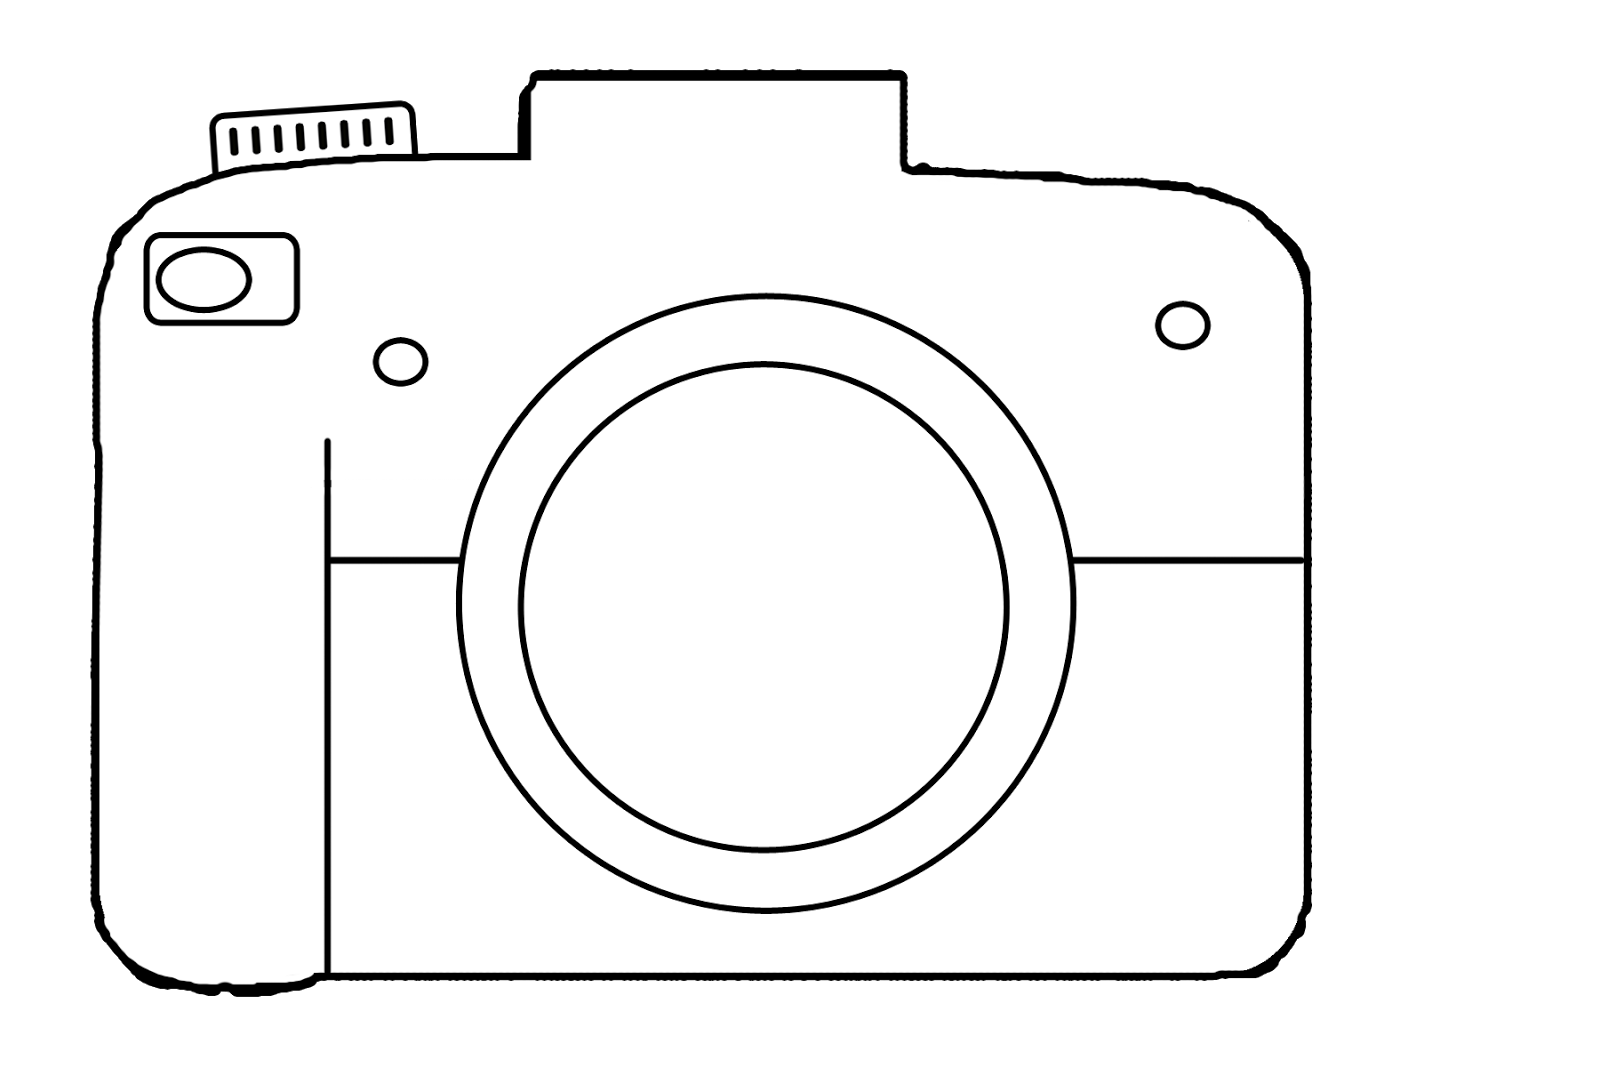
  • Make sure that you click on "trace" when you are doing the trace area instead of selecting "trace outer edge"  
  • Cut the image out on freezer paper. Simply put a piece of freezer paper shiny side down on the cutting machine and cut out the shape. 
  • pull the small little line of freezer paper out so it only leaves the negative 
  • iron the negative onto the fabric. Do this by ironing the shiny side of the freezer paper on to the fabric. 

  • in the empty area wear the positive would of been and draw colored pencil in those parts 

  • take of the stencil off and sew of the lines. The first time try to make it as close to the line as possible, after that sew off the line on propose so it gives it the kind of sketchy look 
  • put it onto the embroidery hoop 
  • hang it up and enjoy!!

check out these other fun projects:


19.5.14

Toddler Name Bean Bags + how to print on fabric

So I have this little sister who is super cute and she's almost 3. We've been trying to get her to spell her name (Chloe) and I thought that these cute bean bags would help her learn.


What toddler wouldn't wan't bean bags with their name on it anyway? I used a method of printing on fabric where you iron on freezer paper to the fabric and send it through the printer (it's super easy).


The bean bags are very simple to make it's just two pieces of fabric sewn right sides together, flipped, and filled with rice (so technically their rice bags). The thing that makes these cooler and different than normal bean bags is that I printed on the fabric.


Oh I went there. 

Here's how I made them. 

MATERIALS: 
  • White cotton fabric 
  • Freezer paper
  • Coordinating solid color cotton for the opposite side of the bean bag
  • Rice 
  • Needle, thread, scissors, etc 
STEPS: 


  1. Cut a piece of white fabric that is exactly 8.5x11" and iron a piece of freezer paper onto it that is also that size 
  2. Create a document with all the letters you need letters and print it onto the fabric 
  3. Peel the freezer paper off the white paper and cut each letter out so it's around 3.5x 3.5 
  4. Cut out squares on the coordinating fabric that are the same size as your letter pieces. Place letter piece and solid piece right sides together and sew (make sure to leave and opening on one end)
  5. Flip and stuff with rice. 
  6. Whip stitch closed. 


check out these other posts:


13.1.14

Mixed Heart Valentine Banner

Valentines Day is among us!! The holidays always seem to sneak up on me, but I've been planning valentines projects to make for months, and I have some GREAT projects coming!

So, on that note, I FINALLY decided what colors to do for my Valentines decor this year. For me, deciding colors is always a long process that involves me looking all over Pinterest to make sure I get the cutest color scheme. 


As much as I love red and pink for valentines, it's REALLY over used. And (you know me) I have to be unique. This year I decided on (drumroll please)

RED.

PINK.

AND GOLD. (particularly gold in the form of sparkles ;) 

Since that was decided I made this cute banner, I call it the Mixed Heart Banner. I mixed paper hearts and felt hearts to make a unique banner. I love that each of the hearts individually aren't that cute, but together they make some adorable. 


Keep reading to learn how to make all four of these hearts and how to assemble them.


** I used about 8 of the paper and doily hearts and 4 of the felt ones **

Stitched Heart:
-Make a heart template. I made my red hearts a little smaller then my paper hearts, but not as small as the glitter ones. 
- Cut draw your heart from your template onto the felt of your choice and cut them out. Keep in mind that for each stitched heart, you will need to felt pieces. 
- match two hearts up and stitch around the outside. You just need a simple up and down stitch, it just needs to be pretty. 

Glitter Heart:
-Cut out a heart (I used my silhouette) and use the negative as a stencil. 
-Take a sheet of white felt and place the stencil on top of it. Put a coat of modge podge thats blocked off with the stencil and cover the modge podge with glitter. 
- Pull the template off and cut the heart out of the felt. 

Doily Heart:
-Download this shape from the silhouette studio.
-Cut it out on your silhouette 

Paper Heart:
- Download and print these hearts and cut them out. 

_________________________________


Assembly:
-Cut a piece of bakers twine/string/ect that is as long as you need your banner to be.
-Tape the paper hearts onto the string first with packing tape, overlap them slightly. 
- Hot glue the felt hearts on top of the paper hearts every few hearts.


That' s it!! Easy right? 


23.9.13

DIY {reversible} Mustache Pillow

Image Map
I've been on a mustache kick lately. Not real mustaches, the cute cartoon ones. Check out this post if you like mustaches too. Today I bring to you, another mustache craft:

The mustache pillow.

It took me a while to finish the wholre project. Not because it's hard. Because I messed it up and it took a while before I was willing to try again. And I finished it just in time for my birthday. (I'm going to be 14!!!!!). I don't think there's a better present than accomplishing something you've been putting off (except a new sewing machine *wink *wink). 

I even included a FREE pattern (I'm so nice ;)).

I made it for  my little nook.  It looks so cute (stay tuned for another pillow tutorial)


This is the front


And this is the back.


So if you want to make one, here's the tutorial.

materials:
-pattern (from here )
-fabric (two different coordinating ones)
-stuffing
-needle and thread
-pins
-fabric scissors

1) Print out the pattern. You will need to print the pattern out twice, cut it out, and then tape the two pieces together.

2) Pin the mustache pattern onto your fabric and cut. Make sure to add a seam allowance. Do this once on both of the fabrics.

3) Pin the two cut out pieces of fabric right sides together and sew a 1/2" seam around the edge.       Remember to leave an opening at the end so you can flip it.

4) Flip your fabric. push out all the corners and curves. This might take a while, but don't give up!!

5) Stuff your pillow with stuffing. Then use your needle and thread to close the hole. That's it, pretty simple, right?

________________________

happy crafting....


12.8.13

Personal Progress/ For The Strength of Youth Holder


Today I'm going to share a tutorial on how to make an ADORABLE Personal Progress holder. It holds all three of my church books: Personal Progress, My Personal Progress Journal, and my For the Strength of Youth pamphlet. If you have no clue what I'm talking about go here

I decided to make this after I truly realized the terrible state of my last PP holder. It was one of the first sewing projects I'd ever done. Let me just say, the lines were not very straight. I also made it before I learned to cut off the selvage of my fabric, so there was some of that on it too. Yes but, I was still very proud of it.

This is the final result.... isn't it lovely. I LOVE the fabric I used. I love how it's bright, and modern, mixed with just the right amount of floral. (BTW I bought all the things for this project at Hobby Lobby [love that place!!]). It's a pretty good project for a beginner too because it is all straight lines (YAY). The best part is it only takes less than a 1/2 yard of fabric to make!! 

Here it is when it's all folded up:


And now here it is unfolded with individual pockets for each of the books:


If you want to make one (you know you do) keep scrolling for the full tutorial. 


All you need is 2 pieces of coordinating fabric that measure 14x18" + 1 yard of coordinating ribbon + 14x18" of heat and bond. 


1. Iron the heat and bond onto the wrong side of one of the pieces of fabric.  (once you iron on the heat and bond the back of the fabric should be kind of shiny). So you're probably wondering "why do I need the heat and bond ?" Well you don't NEED the heat and bond, but it sure makes this project a lot  easier: it makes the fabric stiffer and easier to work with.  


 2. Pin the two pieces of fabric right sides together and sew a 1/2" seam around the edge. Make sure to leave a three inch opening on one of the 18" ( long )  sides of the fabric.


3. Clip the corners. This will ensure that the corners come out are crisp and pointy.


4. Flip the fabric right side out. Then you want to iron the whole piece of fabric. Make sure the 3" that weren't sewn get folded under and ironed in place. Because the interfacing is on one piece of fabric, the two pieces of fabric should stick together.


5. Topstitch 1/8" from the edge on the 18" side with the opening. 


6. Fold the bottom side (that is stitched) up five inches and pin. Sew 1/8" around the whole thing of fabric. 


7. Starting from the left side, mark lines that at 5.5" and 10 3/4". Sew along the lines to make pockets.  

8. Turn the packet over and place the ribbon so it's in the middle of the fabric (about 5" up  or so). Sew the ribbon on starting at the right edge of the fabric and on the other pocket stitches. Make sure you aren't sewing the ribbon on at the right side... (sorry no pic for this step)


9. Place your books in. Then fold the right side over and tie. Enjoy the cuteness. 


If you likes this post make sure to check these out:

Cookie dough Cupcakes                DIY foam seat cushion                        Printable Quote                         DIY Water Bottle


____________________

25.7.13

Circular Magnetic Boards Using $$ Store Pizza Pans

So about a year ago I decided I was going to redo my room. It went from brown and pink, to black, white, and turquoise. My room has one turquoise accent wall ( I <3 it) and the rest are white, there kind of dull and there is a lot of hole and nails in the wall from the previous owners. I'm technically done redecorating it, but there's always another accent you can add. Right?

So today I'm going to show you how to make these super cute pizza pan magnet boards. They are SO easy to make, and VERY forgiving. I seriously FAILED on the sewing, but it doesn't really matter on this project. They kind of remind me of giant cover buttons (LOL!!). What do you think? I think I'm in love with them, they turned out, way CUTER than I expected:

15.7.13

Easy Foam Seat Cushion Using a Foam Mattress Pad

I think that nooks are one of the cutest things in the world. They're just so cozy and lovable.
In my room there was a wall that was empty and needed some TLC. So about six months ago I bought some cubbies from Target, intending to cover them with a seat cushion, but then I found out how much foam cost. WHEW!!! That stuff isn't cheap. So I kept putting it off until I decided I was just going to buy foam no matter how much it was. But then one day I was walking around in Target looking for storage cubbies when I saw a foam mattress topper and it hit me, i could just cut that up and make a seat  cushion out of that! And the best part, it was only $15 for a twin sized topper. And that's how I came up with this:

12.5.13

DIY travel Pillows


School is coming to a close and you can feel the summer magic in the air. In order to make this summer one to remember I'm going to be sharing projects related to summer. SUMMER HERE WE COME!!!!
.   .    .    .    .    .    .    .    .    .    .     .     .     .

Edited to Add: I just tried these out on my trip and they are amazing. The seat belt doesn't cut into your shoulder when you where them and it makes sleeping in the car easier. 

As I mentioned before, Summer is almost here. I'm so excited! . One of the things I 'm going to be doing this summer is driving 14 hours to Utah with my 18 month old, 6 year old, 9 year old, and 11 year old siblings. Not the highlight of my summer, but my goal this year is to make this drive FUN and enjoyable. One of the things I decided would help are these seatbelt travel pillows.


16.4.13

How to cut fabric on the silhouette (part 2)


The next few weeks I will be showing you how to make the most of your silhouette and do many different things. check in to see how.
_____________________________________


7.4.13

Fabric Bow Bookmarks (with the silhouette)

I've been in a "post stuff on my blog" mood today. Don't ask me why, because  don't know. Well, It's more of a "post bookmarks on my blog mood". Yep, It's the 2nd post today. So if you don't like to read or don't like bookmarks, I'm sorry I don't like you. Not really, but seriously, reading is awesome. Hmmm..... maybe I should do a bookmark week. IDEAS!!!

2.3.13

St. Patties Day Hair Flowers

St. Patricks Day is coming up. I whipped up some cute "pinch proof" satin hair flower clips. I plan on giving them out to my friends so that they can be "pinch proof"too.

They are super cute.
In case you don't how to make the flowers check out the tutorial here. To make them into flower clips I glued felt on the back and hot glued an alligator clip to the back.


____________________

-Emma

13.2.13

DIY tulle Garland

WOW.... I just realized today that TOMORROW is valentines day. So I decided to do a post on a last minute valentine decor idea (incase you forgot like me).

It is so Cute and easy to make.
Want to make your own
GET:
-bakers twine 
-rolls of tulle
-scissors
-3x4 piece of cardboard 
-needle

DO:
-take a piece of tulle 2 1/2 yards long 
-wrap it around the cardboard 
-slide it off the cardboard and tie a piece of twine in the center
-cut the ends of the tulle open
-fluff 
(Sorry for the bad pics)
_______________________

-Emma