Image Map
Showing posts with label sewing. Show all posts

23.6.14

Mini 4th of July Hats

So, I wasn't actually going to post today :) since I'm guessing I'm in D.C. right now, but I made this cute little hat to take with me on our trip ( since we'll be staying over the Fourth of July) but it was just to cute I couldn't justify NOT sharing it.


But this will probably be the only post this week. BUT, maybe I'll decide to write another post intend of packing :). 


The hat is made entirely of felt (well you can add some tulle or something too if you want), and you even get to paint on felt (oh…. I went there :). Plus it's super easy, it involves a sewing machine, but you only have to sew a straight line. 


Materials: 
  • Sheets of felt (I would recommend buying 2-3 different colors). You can buy sheets of felt for around 50 cents at Michael's or any kind of store like that. 
  • freezer paper
  • paint 
  • paint brush 
  • needle and thread 
  • stuffing
  • tulle and other accessories to add extra cuteness
  • headband/hair clip  
Steps: 
  • With an electronic cutting machine cut out your design on freezer paper. Do you want to do a chevron design too (I like the way you think :) you can download the one I made here. Do you need help cutting designs out on your silhouette? Go here. 
  • Once you've cut out the design on freezer paper, take the negative part of it off (basically the insides of your freezer paper. 
  • Iron the freezer paper onto your felt. Simply lay the shiny side of the freezer paper down on the fabric and iron. 

  • Paint inside your stencil. I decided to switch colors and do a red, blue, red, blue pattern. 
  • Cut out the piece of felt to the right size. Mine is 3"x****FGXHFG". 
  • Fold your piece of felt right sides together hamburger style (lets go back to preschool, shall we?). Sew a straight line down the shorter sides of the felt and flip the felt right side out. Your felts should now form a tube. 


  • Cut out another piece of felt that is as wide as one of the open sides on your tube. With your needle and thread sew it onto one of the open sides off the tube with a simple whip stitch. 


  • Now the tube should have only one open end. Put stuffing into the open end until it's full 
  • Cut out two more pieces of a DIFFERENT color of felt. Make the pieces a couple inches wider than the top/tube of your hat. Sew one of the pieces directly onto the hat with a needle and thread. 
  • Take the other piece of the same size, and sew it onto the bottom of the piece you just sewed to the bottom of the top of the hat 
  • Add tulle and other accesories to the hat. 
  • Attach the hat to a clip or headband. 


Check out these freezer paper projects: 


6.6.14

How To Turn a Long Sleeve Shirt into a Short Sleeve One

Summer is upon us and that means all the cute long sleeve shirts go on sale. However there is one problem (1) it's summer and time for short sleeves (2) I live in Arizona so even in the winter I wear short sleeves. So long sleeves aren't working for me.


So what do you do when you see a super cute long sleeve shirt and you buy it because its on sale.


 Do you put said shirt in the bottom of your project bin, no. Do you wear it even with the sleeves because its cute, no. What do you do you chop the sleeves off!


This is SUCH an easy project to do.


Materials:

  • Long sleeve shirt 
  • Short sleeve shirt to use as a pattern 
  • Ruler and pen 
  • Pins, scissors, sewing machine
  • (optional) clear thread 
Steps:
  • First your going to lay out your long sleeve shirt and put your short sleeve one on top of it. Make sure the seams for the sleeves line up. Mark where the sleeves on your short sleeve shirt end on your long sleeve shirt in pen. With your ruler measure about .5 of an inch from the first line and draw another line. 


  • Cut on the last line. 


  • There should only be one drawn line left now. Flip your shirt inside out and fold up the sleeve on your one remaining line. pin into place.

  • Sew a zig zag line to hem the sleeve. I used clear thread because I didn't have thread that was exactly the same color as my shirt. 

  • Trim off all the excess fabric that sticks out of your shirt. 


And your done, just in time for Summer!


check out these projects:


2.6.14

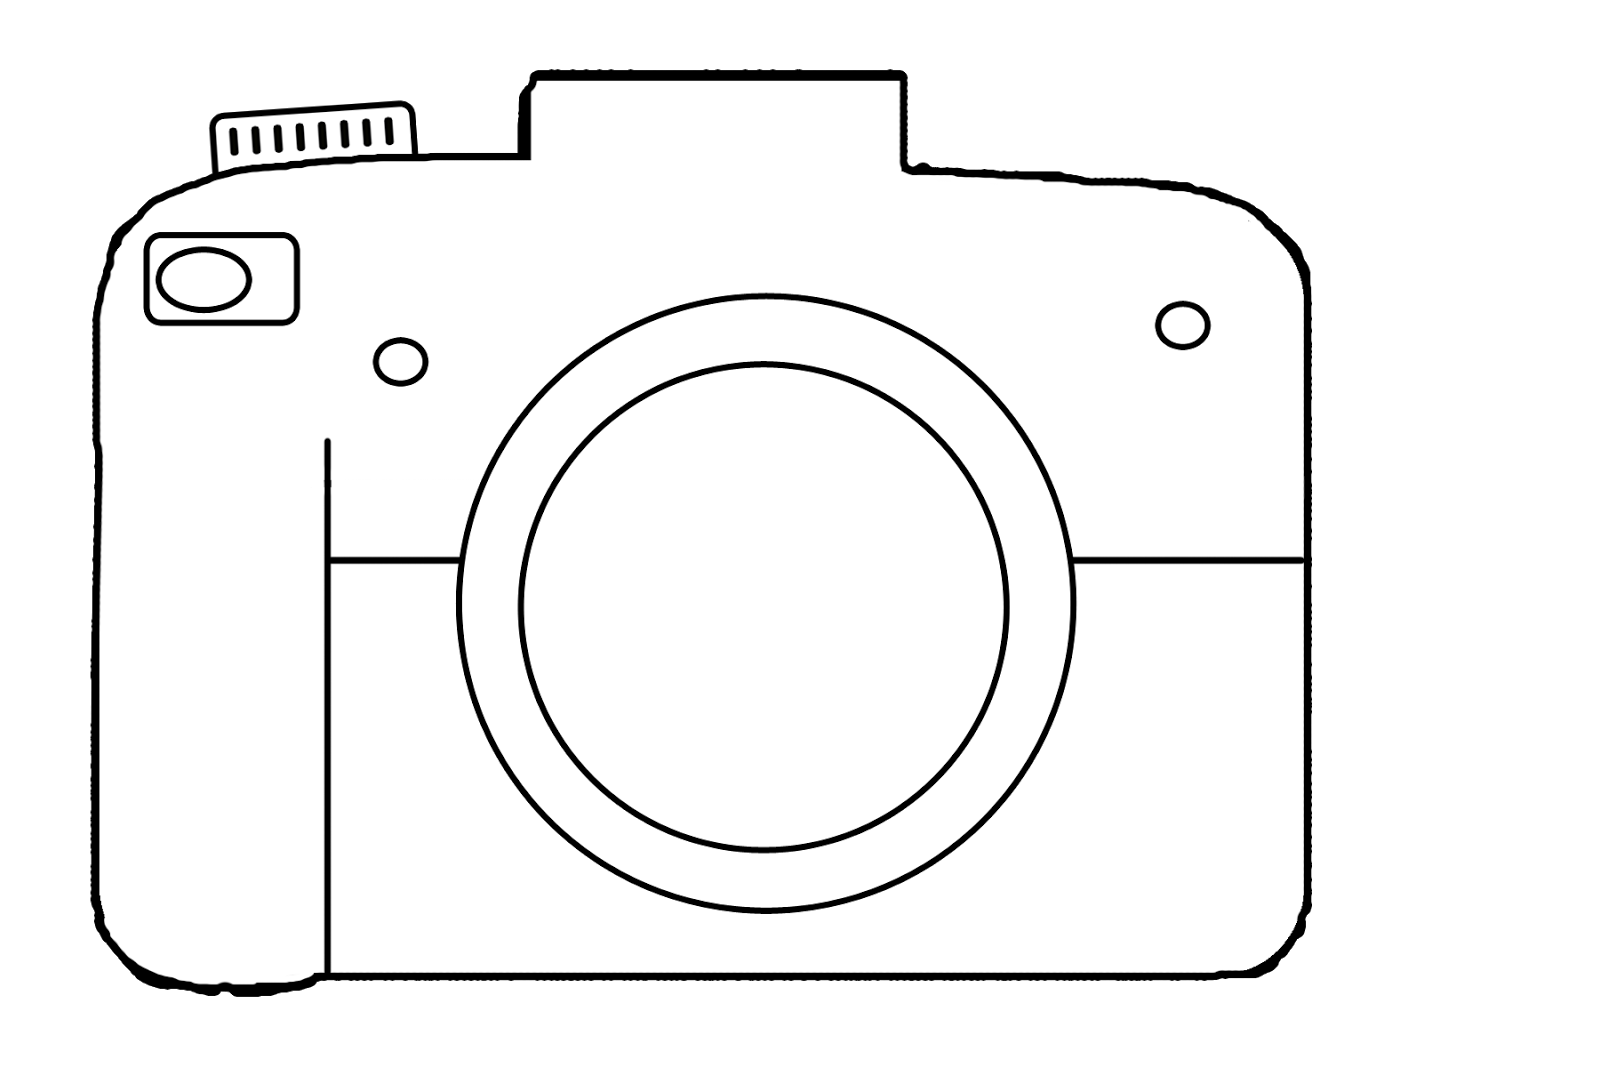
Camera Embroidery Hoop Art

So I realize embroidery hoop art is not a new idea, in fact it's been around for a while. However, I've never actually made any myself so I thought I'd try it out and i thought it would look really cute in my bedroom gallery wall that I've been working on (shhh, don't tell anyone it's a secret).


I decided to embroider a camera because, well, I love photography and my camera and it's something that really "describes" me.


It's super easy! And uses freezer paper (see I told you you would be seeing more freezer paper projects around here)!


Let's get started:

Materials: 
  • Embroidery hoop
  • solid color cotton fabric 
  • contrasting thread
  • contrasting (to your fabric) colored pencil 
  • freezer paper 
  • electronic cutting machine
  • sewing machine, scissors, etc
Steps: 
  • design a file/ picture of what you want your object in your embroidery hoop to be, import it into the silhouette studio. make sure that your image is only the outline of the object, so it prints correctly (refer to the image below for help) Need help with that? Go here.

  • Make sure that you click on "trace" when you are doing the trace area instead of selecting "trace outer edge"  
  • Cut the image out on freezer paper. Simply put a piece of freezer paper shiny side down on the cutting machine and cut out the shape. 
  • pull the small little line of freezer paper out so it only leaves the negative 
  • iron the negative onto the fabric. Do this by ironing the shiny side of the freezer paper on to the fabric. 

  • in the empty area wear the positive would of been and draw colored pencil in those parts 

  • take of the stencil off and sew of the lines. The first time try to make it as close to the line as possible, after that sew off the line on propose so it gives it the kind of sketchy look 
  • put it onto the embroidery hoop 
  • hang it up and enjoy!!

check out these other fun projects:


19.5.14

Toddler Name Bean Bags + how to print on fabric

So I have this little sister who is super cute and she's almost 3. We've been trying to get her to spell her name (Chloe) and I thought that these cute bean bags would help her learn.


What toddler wouldn't wan't bean bags with their name on it anyway? I used a method of printing on fabric where you iron on freezer paper to the fabric and send it through the printer (it's super easy).


The bean bags are very simple to make it's just two pieces of fabric sewn right sides together, flipped, and filled with rice (so technically their rice bags). The thing that makes these cooler and different than normal bean bags is that I printed on the fabric.


Oh I went there. 

Here's how I made them. 

MATERIALS: 
  • White cotton fabric 
  • Freezer paper
  • Coordinating solid color cotton for the opposite side of the bean bag
  • Rice 
  • Needle, thread, scissors, etc 
STEPS: 


  1. Cut a piece of white fabric that is exactly 8.5x11" and iron a piece of freezer paper onto it that is also that size 
  2. Create a document with all the letters you need letters and print it onto the fabric 
  3. Peel the freezer paper off the white paper and cut each letter out so it's around 3.5x 3.5 
  4. Cut out squares on the coordinating fabric that are the same size as your letter pieces. Place letter piece and solid piece right sides together and sew (make sure to leave and opening on one end)
  5. Flip and stuff with rice. 
  6. Whip stitch closed. 


check out these other posts:


24.2.14

Jersey Waistband Skirt

Ok, I admit it. I've never actually made a skirt. I know, crazy! I usually have the idea for the skirt, buy the fabric, and then give it to my mom to make :). So this was the first skirt I did totally on my own, and I'm proud of it. It seriously is an amazing feeling when someone asks you where you got your skirt and you say you made it. Yeah, it's a pretty great experience.


I have to say, of all the homemade skirts I worn, this is by far the comfiest. It has the most amazing stretchy jersey waist band, and the actual skirt is made from jersey knit too so it basically feels like your wearing sweatpants. 

So if you want to feel all those amazing feelings I just talked about for yourself,  join me in the skirt making fun. Once you start, you can't stop, Which isn't necessarily a bad thing. I spent around $10 for the whole skirt plus some extra fabric, were it cost around $35 to get the same thing at lets say Downeast Basics (love that store). So let's get started. 

Materials:
- 1 yard of jersey knit fabric (I found mine on clearance at Hobby Lobby)
- scissors, rotary cutter, needle and thread, sewing machine 

**Make sire to use a zigzag stitch on EVERYTHING so that the skirt can stretch**

Steps:

Cut the fabric for your waistband:
  • First you need to decide how tall you want your waistband to be. Mine is 2" tall but you can make it anywhere from 2" to around 4",  it all depends what kind of figure you have, Ect.
  • once you decide your height double it (you'll see why in a second). So if I want my waistband to be 2" tall, I'm going to multiply it by two and then it will be 4. tack on an a 1 inch to that for seam allowance. So if I want my waistband to be 2", then I will cut the piece of fabric 9" tall. 
  • Now you need to determine the length of the strip. This is pretty simple, just measure your waist where you want the skirt to fall. My waist is 29" so I just added another inch on for seam allowance. 
  • Now pin the strip of fabric right sides together and sew down the unfolded edge 
  • flip the tube inside out 

**Sorry for the bad pics**

  • Now your going to take the two narrow ends of the tube and open them up. Place the short ends right sides together and sew.

  • then pull the ends of the tube and whip stitch the opening closed

Time to make the body of the skirt:
  • Cut fabric based on how long you want the skirt, how much you want it gathered at the top, and how big your waistband is. I used basically all the fabric I had left because I wasn't sure how long I wanted the skirt so I hemmed it last. 
  • sew the fabric into a tube 
  • sew two basting stitches along the top of the skirt/tube and gather the skirt so it's the same length as your waistband
Assembling the skirt:
  • Fold the waistband over the gathered part of the skirt and pin it in place. Make sure not to stretch the fabric.
  • Zig zag the pinned edge together. 
  • rip stitch out the basting stitches. 

6.1.14

Reversible Camera Strap

Remember how last week I told you about my new beautiful new camera? It's beautiful.Well my camera came with something very ugly attached to it. A big, black, huge, uncomfortable, ugly camera strap. I knew I had to do something about it because I like things to be pretty, not ugly :). 


** This isn't my new camera, this is my dads old film SLR** 

I looked all over the web in search of some camera strap I could could make so all the parts of my camera could be beautiful. There was one problem: all the straps involved some random thing I didn't have. Who buys random things that they don't have? Not me, and they all looked like expensive random parts. 

Then I thought of an ingenious idea. why not recover the strap I ALREADY HAVE?!?!? 
So that's exactly what I did.  And the wonderful thing is, not only is it cute, it's SUPER comfy and padded. 


It's A super easy project. Anyone can do it if you can pin and sew a straight line.

Want to Make one?

All you need is two coordinating fabrics, quilting batting, a camera strap, and all your basic sewing supplies. 

The first thing your going to do is to measure your camera strap to determine what size your pieces of fabric are going to be. Mine Measured 1 1/4 by 23. I added another inch for the seam allowance and just to add some breathing room.


After you've determined what the total size of your fabric will be (from the last step), cut them out. So the total length and width of my fabric was 2 1/2 by 24 1/2. Cut one strip of fabric 1, fabric 2 and one strip of batting.

Put your strips in this order: fabric 1, fabric 2 (right sides together), and batting, pin.


Put the strips into your swing mating and sew down the two longest sides so your strips of fabric will form a tube. 


Once you've completed the sewing, flip your tube inside out and iron.

slide the tube onto your camera strap. It might not seem like it's going to go on, but just keep trying!! TIP: if your fabric keeps shifting on the strap iron on the highest setting of your iron.

Fold the two open ends of the tube down into the strap about half and inch and sew on top of it. 


That's it, just attach the strap to the camera and bask in it's comfortable and beautifulness.


2.9.13

FUN sized Mini Tote Tutorial

For the summer months I posted on Mondays and Thursdays, I'm too busy to do that now, so I'm just going to be posting on Mondays. Thank you everyone for your support! 

-Emma

*  *  *  *  *  *  *  *  *  *   *   *   * 

I present to you:

The TOTE


Well actually its more of mini tote, or as I like to call it:

The FUN Sized Tote

Image Map