

I decided to embroider a camera because, well, I love photography and my camera and it's something that really "describes" me.

It's super easy! And uses freezer paper (see I told you you would be seeing more freezer paper projects around here)!

Let's get started:
Materials:
- Embroidery hoop
- solid color cotton fabric
- contrasting thread
- contrasting (to your fabric) colored pencil
- freezer paper
- electronic cutting machine
- sewing machine, scissors, etc
Steps:
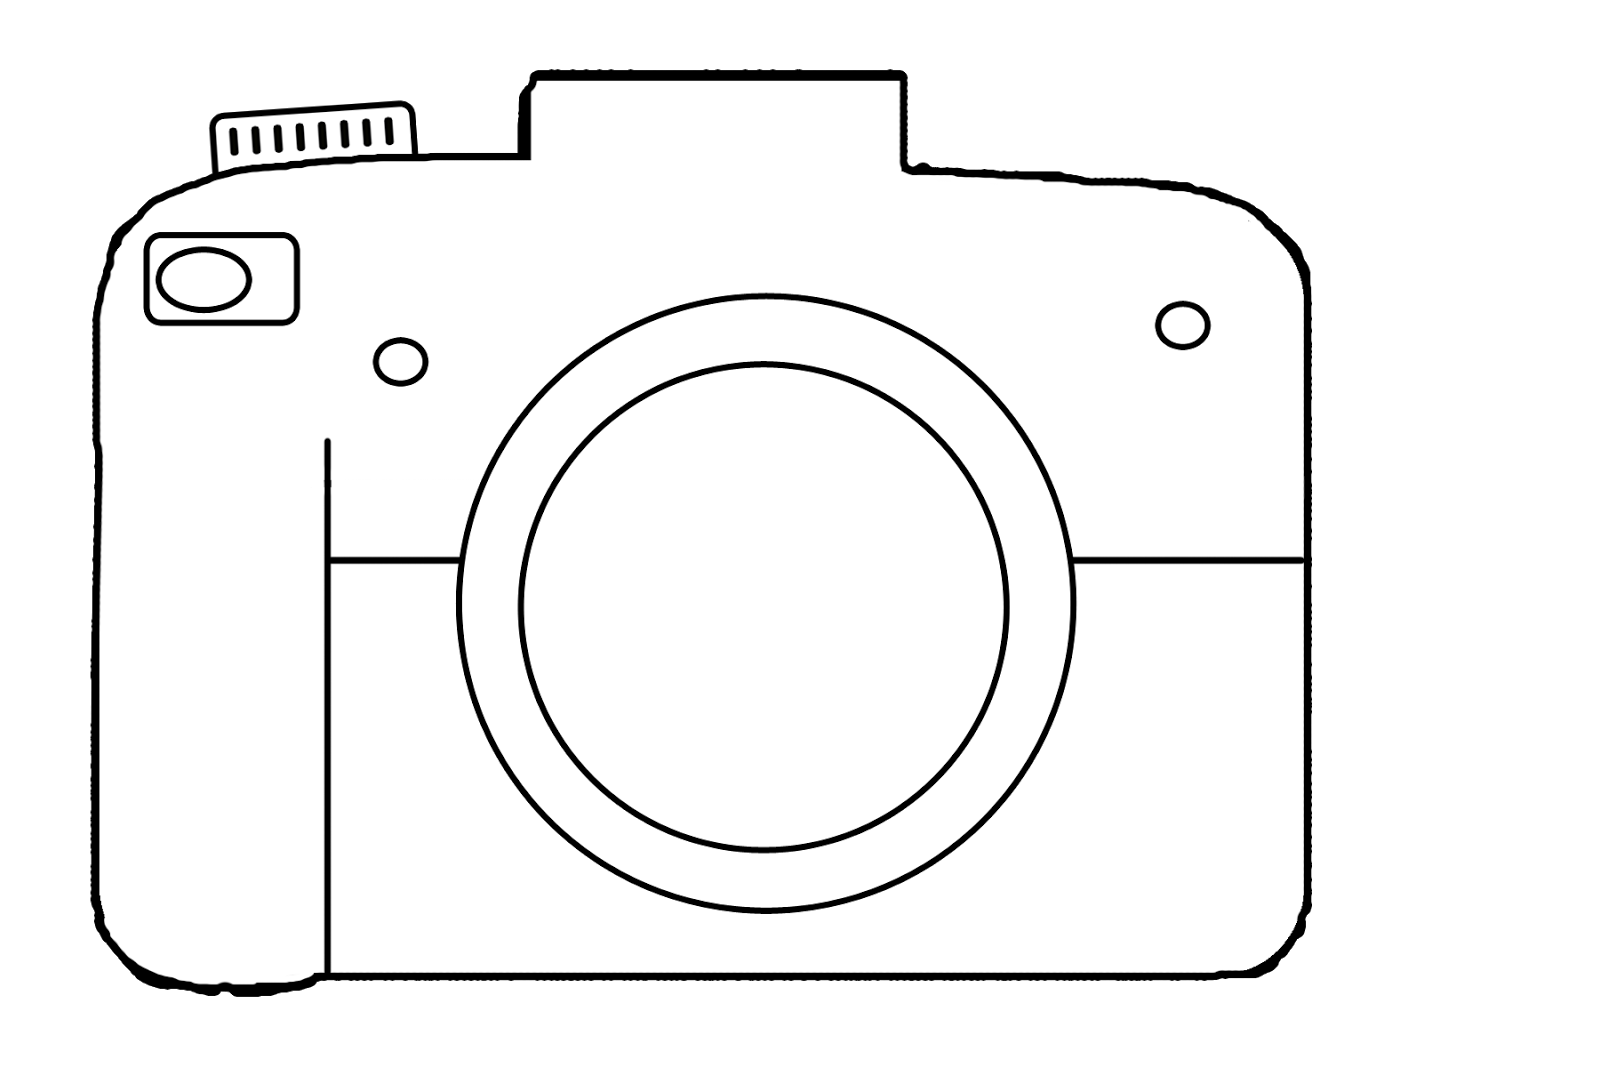
- design a file/ picture of what you want your object in your embroidery hoop to be, import it into the silhouette studio. make sure that your image is only the outline of the object, so it prints correctly (refer to the image below for help) Need help with that? Go here.
- Make sure that you click on "trace" when you are doing the trace area instead of selecting "trace outer edge"
- Cut the image out on freezer paper. Simply put a piece of freezer paper shiny side down on the cutting machine and cut out the shape.
- pull the small little line of freezer paper out so it only leaves the negative

- iron the negative onto the fabric. Do this by ironing the shiny side of the freezer paper on to the fabric.

- in the empty area wear the positive would of been and draw colored pencil in those parts

- take of the stencil off and sew of the lines. The first time try to make it as close to the line as possible, after that sew off the line on propose so it gives it the kind of sketchy look
- put it onto the embroidery hoop
- hang it up and enjoy!!

check out these other fun projects:


No comments:
Post a Comment