Image Map
Showing posts with label Church Stuff. Show all posts

3.4.14

General Conference Notebooks


Hey everyone! So normally I would be posting another part of the photoshop series, but today I'm sharing a post for general conference, so my normal schedule will be back next week. So I know a lot of my viewers are LDS, but for those of you who aren't your probably don't know what I'm talking about. General conference is a time where twice a year we get to listen for the leaders of out church for 8 hours over two days. It's an awesome experience, but sometimes towards the end it gets tiring. I'm not that person who loves having 16 hour movie marathons, so by the end I'm ready to get outside and get away from the television.


Here's the design for this year.


And here's last years. 


Here's a picture of the tabs and the notes pages.

Last October, I decided to try making a general conference journal to help keep me motivated. However I never got to share the idea last year. I really loved using it and filling in all the sections, so much that I decided to make another one.


I made one design for last year, and one for this year. Since I didn't share these last year, I'm going to share both colors and you can just choose which one you like better.

Assembling them is really simple:

MATERIALS:

  1. notebooks. I got mine at dollar tree, they looked similar to these but without the lines. 
  2. washi tape.
  3. these files
  4. laminator (optional)
  5. rubber cement and double sided tape
INSTRUCTIONS:
  1. Take off the cover of your notepad. Black binding tape and all, so you'll just have a bunch of white sheets stuck together
  2. cut out your cover sheet and put tape on the back of it. Stick the sheet onto the first blank white page in the pad. 
  3. On the top of the notepad, put two pieces of washi tape so that you cover up all the ugly ripped stuff on top. If your washi tape isn't very sticky, you may have to put a line of rubber cement to keep in place. 
  4. flip your journal open to the next page. Tape one of the journal pages onto the page. do this to every other page. 
  5. Now cut out all the tabs on the tabs page. Laminate them. Put a line of rubber cement on the picture part of the tab. Put it onto the page before the journal pages  so that the name  is sticking out. 
  6. ENJOY and take notes!


28.10.13

Super Easy and Quick FHE Lesson

In my family, we decided to start follow the come follow me curriculum for our FHE lessons. We also been trying to prepare our lessons more. Well today I am on lesson, so I went to LDS.org and chose the  lesson outline on patience. I found a really good talk on patience by President Uchtdorf titled Continue In Patience.

There is a really great story in there I thought my younger siblings would enjoy, he also shared a definition of patience. 


I decided to base the handouts off of that definition of patience President Uchtdorf shared.  I really thought it summed up the whole lesson. I also put pictures of things we have to be patient for to help my siblings remember what patience is. There is a girl version and a boy version. I didn't think my brothers would appreciate a pink and blue handout. 

girl version:


boy version:


________________________

30.9.13

Testimony Taboo (free printables!!)

I've been really enjoying making printables and handouts. It's kind of funny, I've looked back on my old photoshop stuff and my style has changed so much! For a while now I've been toying with the idea of a church related Taboo game.

I've been hooked on Taboo ever since I played it for the first time at a Young Women's party. I thought it would be fun to make an LDS version to play at mutual and FHE. And I finally did!

And, it's kid approved! Me and my family played it at FHE one week and they all LOVED it.

It's a really fun game, those of you who have played it before know what I mean. In case you've NEVER played taboo, I have included the rules too. For those of you who like this game, I'm thinking of making a "Scripture Scatagories". Who knows, I might have a who series of games. 


And guess what...... it comes with SEVEN free printables! 5 sheets of cards, a printable box with a top and bottom to store it, an instruction sheet, and a point tracker.


Here's how to play:


The rules are the same as normal Taboo. the only difference is that you use different cards.


I also made a point sheet, in case you want to get competitive ;).


This is one of the five sheets of cards. I made around 35 cards, so you should be good!  Once I printed my cards out I put them through a laminator and cut them out, that way it will last along time.

 I even designed a cute box for you to store your cards in. Just print out the top and bottom template, and cut them out. You fold just like you would a normal box. 


Bottom

Top

Here's the link if you want to grab a few. Feel free to share it with all your friends.


Taboo Instructions


Taboo Point Tracker

__________________________


linking up to:


Skip To My LouThe DIY Dreamer

12.8.13

Personal Progress/ For The Strength of Youth Holder


Today I'm going to share a tutorial on how to make an ADORABLE Personal Progress holder. It holds all three of my church books: Personal Progress, My Personal Progress Journal, and my For the Strength of Youth pamphlet. If you have no clue what I'm talking about go here. 

I decided to make this after I truly realized the terrible state of my last PP holder. It was one of the first sewing projects I'd ever done. Let me just say, the lines were not very straight. I also made it before I learned to cut off the selvage of my fabric, so there was some of that on it too. Yes but, I was still very proud of it.

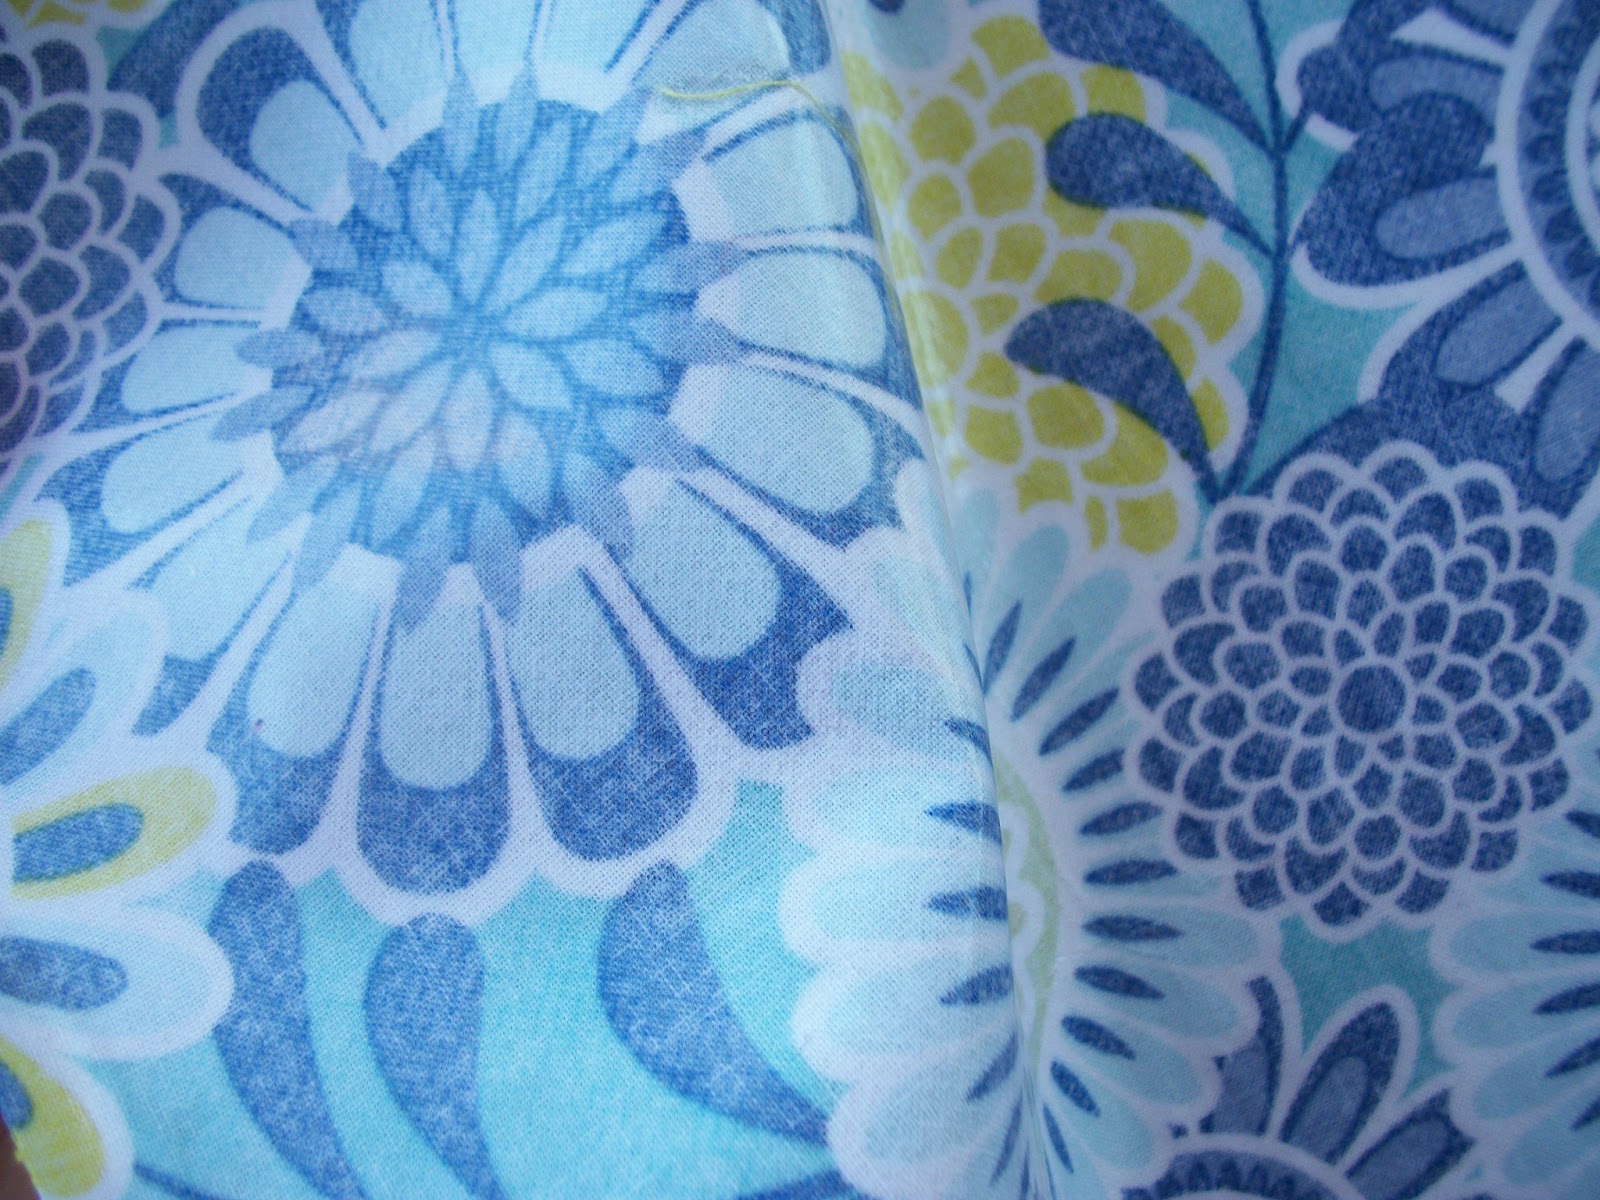
This is the final result.... isn't it lovely. I LOVE the fabric I used. I love how it's bright, and modern, mixed with just the right amount of floral. (BTW I bought all the things for this project at Hobby Lobby [love that place!!]). It's a pretty good project for a beginner too because it is all straight lines (YAY). The best part is it only takes less than a 1/2 yard of fabric to make!! 

Here it is when it's all folded up:


And now here it is unfolded with individual pockets for each of the books:


If you want to make one (you know you do) keep scrolling for the full tutorial. 


All you need is 2 pieces of coordinating fabric that measure 14x18" + 1 yard of coordinating ribbon + 14x18" of heat and bond. 


1. Iron the heat and bond onto the wrong side of one of the pieces of fabric.  (once you iron on the heat and bond the back of the fabric should be kind of shiny). So you're probably wondering "why do I need the heat and bond ?" Well you don't NEED the heat and bond, but it sure makes this project a lot  easier: it makes the fabric stiffer and easier to work with.  


 2. Pin the two pieces of fabric right sides together and sew a 1/2" seam around the edge. Make sure to leave a three inch opening on one of the 18" ( long )  sides of the fabric.


3. Clip the corners. This will ensure that the corners come out are crisp and pointy.


4. Flip the fabric right side out. Then you want to iron the whole piece of fabric. Make sure the 3" that weren't sewn get folded under and ironed in place. Because the interfacing is on one piece of fabric, the two pieces of fabric should stick together.


5. Topstitch 1/8" from the edge on the 18" side with the opening. 


6. Fold the bottom side (that is stitched) up five inches and pin. Sew 1/8" around the whole thing of fabric. 


7. Starting from the left side, mark lines that at 5.5" and 10 3/4". Sew along the lines to make pockets.  

8. Turn the packet over and place the ribbon so it's in the middle of the fabric (about 5" up  or so). Sew the ribbon on starting at the right edge of the fabric and on the other pocket stitches. Make sure you aren't sewing the ribbon on at the right side... (sorry no pic for this step)


9. Place your books in. Then fold the right side over and tie. Enjoy the cuteness. 


If you likes this post make sure to check these out:

Cookie dough Cupcakes                DIY foam seat cushion                        Printable Quote                         DIY Water Bottle


____________________

1.8.13

Book of Mormon Reading Chart Bookmark

Hello again....
As most of you know, I'm a 13 year old Mormon girl and my religion is a HUGE part of my life. (read more about me here) Once we turn twelve we enter the Young Women's and are challenged to complete personal progress. We have to complete eight values by doing 6 experiences and one ten hour project of our choice that applies to that value. The virtue project however is already chosen for us and it is to read the whole book of mormon! I've been working on reading it, but I'm 2nd Nephi, And as you probably know, it is really hard to get through. I need a little extra encouragement  so I made this reading chart bookmark. I really like using this because you can see how you have progressed and you can actually notice how close you are to finishing. So anyways, now that I'm done talking, here it is: